Recently, I’ve been getting a lot of questions about how I edit my Instagram photos and compose pictures for #nerdyflatlay, so I thought it would be a good idea to do a post to explain my process! I’m definitely not a professional photographer, but I have learned some things about lighting, composition, and editing that I take into account when prepping photos for Instagram, and I’m happy to share my tips with you.
If you find this post helpful, please consider buying me a coffee through my new Ko-fi account! It’s a great way to give back if you enjoy my writing since I don’t get paid just to post cute pictures (I wish!). But for now, let me break down exactly how I go about taking photos and nerdy flatlays for Instagram!
What I Use:
- iPhone 6
- White poster board
- Natural lighting
- A bunch of cute/nerdy stuff from my collection
- VSCO (iOS/Android)
- A Color Story (iOS/Android)
A lot of people are surprised that I use my phone’s camera to take Instagram photos, but since I have a relatively recent phone, it really is all I need to quickly take a cute picture! If you have a smartphone from the past couple of years, your camera is probably just fine, too. I give a bunch of photography tips in Part 2 of my Ultimate Guide to Blogging, but I’ve found the thing that most dramatically increased the quality of my photos was natural lighting. It may take some time to figure out where in your house/what time of day gives you the best light, but don’t underestimate the power of the sun! If your house is just too dark, take your setup outside! Making sure your setup is well lit will really go a long way toward creating stunning pics.
When composing my photos, I either go in knowing I have a specific item or items I want to share, brainstorm ideas for a #nerdyflatlay theme, or think of a way to show off a few things from my collection I think people would like to see. Since this isn’t a “how to get noticed Instagram” post, I won’t go too much into those kind of strategies, but I have found that when I started unifying my images visually with things like a white poster board background, people tended to like my pictures more. You may want to think about what type of aesthetic you want for your account when you’re composing pictures, too.
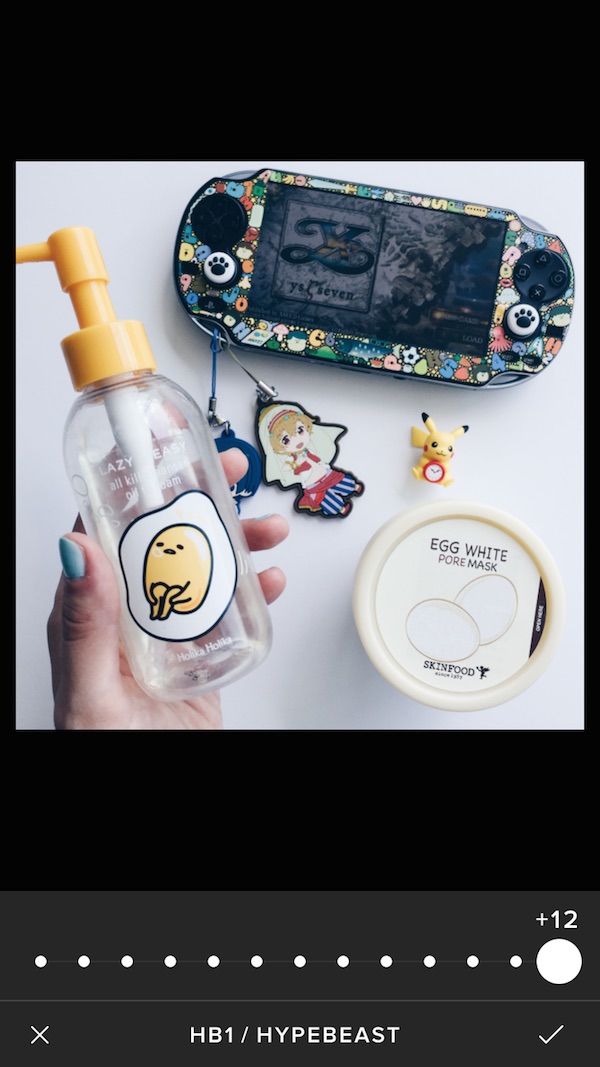
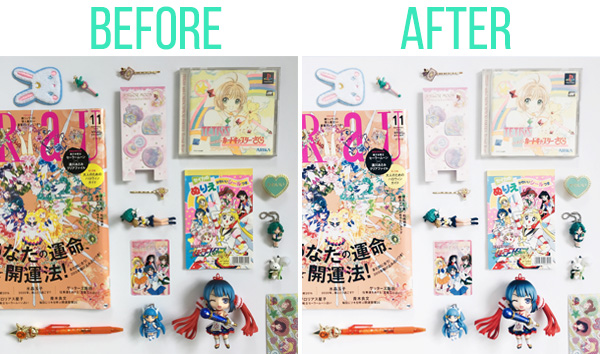
After I’ve taken a bunch of photos (I always do more than one!), I pick which one looks best and import it into the free app VSCO. I then use the HB1 filter to lighten and desaturate my photo – I usually leave it at max strength, but depending on how bright the photo already is, I may bring it down slightly. When you first download VSCO you’ll need to go to the store to find the Hypebeast filter pack to get the HB1 filter, but it is available for free.
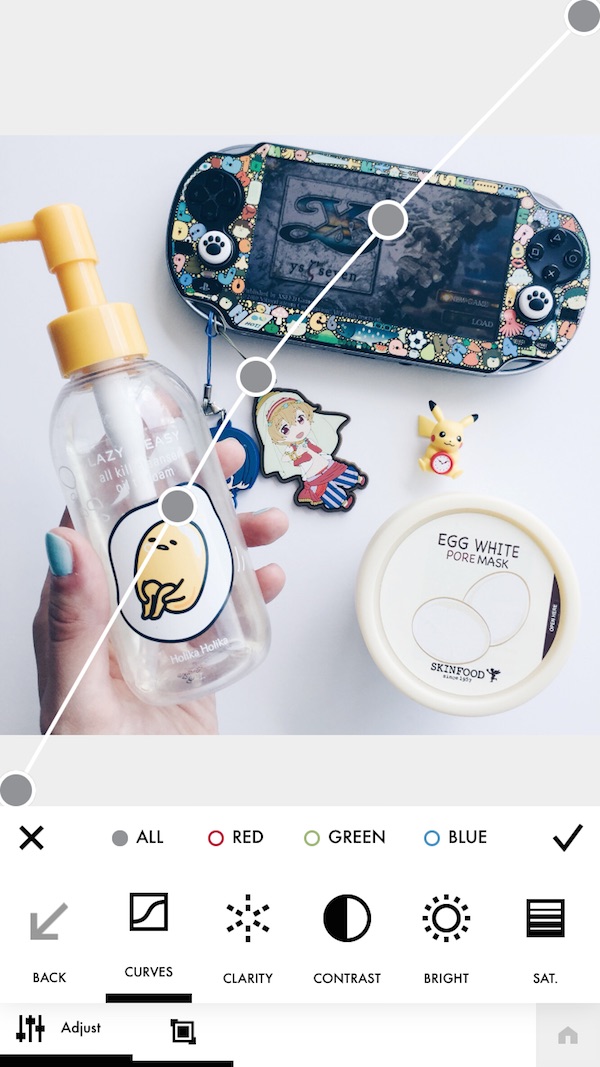
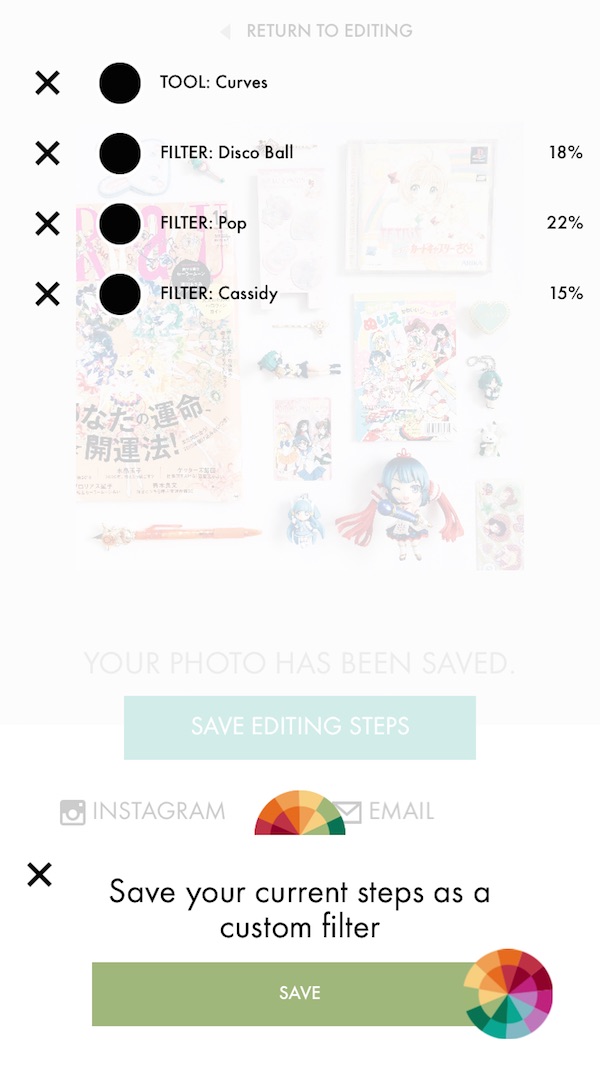
I then save my edited photo to my camera roll so I can import into A Color Story to further tweak the colors. A Color Story has a free version, but I’ve paid to unlock all of the filter packs because of how much I like the app. If you don’t want to spend any money, you can probably achieve a very similar effect by tweaking with things like curves, brightness, contrast, and hues along with the default basics pack. I love A Color Story especially because of the curves feature – it really helps my photos pop! Try playing around until you find a look that’s best for you.
When I’m done, it’s time to save the picture to my camera roll once again so it’s ready to post on Instagram!
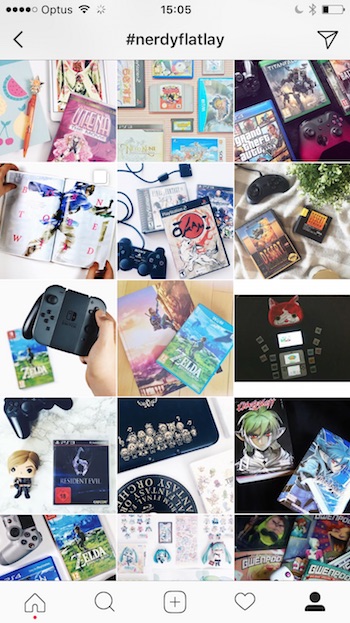
If you want to post cool nerdy photos on Instagram but don’t know where to start, why not try a nerdy flatlay? #nerdyflatlay is a hashtag I started with Instagram user @janeliango after I found I was taking a lot of flatlay-style photos featuring nerdy objects. Though flatlays are really popular on Instagram, no one seemed to have made #nerdyflatlay a thing yet, so I decided to go for it!
If you’re unfamiliar with flatlays, they’re basically a way to show off one or more objects from a top-down perspective. Generally, flatlays involve arranging a number of objects in an aesthetically-pleasing way, so it’s no wonder they’re so popular! When composing a nerdy flatlay, I usually pick a theme such as a color, series, genre, etc. and select a bunch of objects of differing sizes from my collection. But a nerdy flatlay can pretty much be anything you want – just check out all these submissions in the hashtag!
My editing process for nerdy flatlays is exactly the same as my non-flatlay photos: I generally try to go for a bright white background with somewhat muted colors that still manage to pop. I wouldn’t say I’ve completely nailed down the whole Instagram thing, but I’ve been getting new followers at a much faster rate since I started being more deliberate about my posts, so I highly recommend trying it out!
Thanks for reading, and if you’re not following me on Instagram already, get on that! If you liked this post, a cup of coffee would very much be appreciated. I hope to see some of your nerdy flatlays soon. Happy Instagramming!
This is an immensely helpful post! For some reason, all the pictures I take in my house end up tinted yellow, so the simple suggestion of GOING OUTSIDE will help a lot, I think.
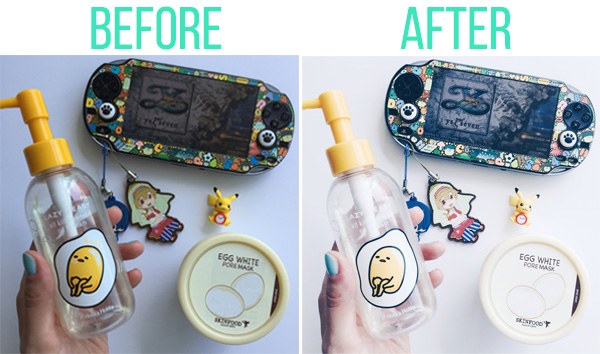
Not only that, but the apps you’ve mentioned sound/look really cool. I’m amazed with the before/after sample of a picture you took. Well, now both apps are queued for download on my phone. Can’t wait to play with them :).
I’m so glad the post was helpful! Going outside may seem like a pain, but short from buying a bunch of lights it’s probably the best solution to poor lighting inside your home. Most bloggers I’ve read photography advice from still swear by natural lighting over elaborate lighting schemes anyway. Good light will ensure that even when you go to edit the photos, they don’t turn really grainy (as you can see even in “good” light mine were still pretty dim!)
Hope you have fun with the apps! It definitely took me a little playing around, particularly in A Color Story, to get the look I wanted. Don’t feel bad if you get to the end of an edit and realize it’s not really what you were going for and decide to start over 😉 I still do that regularly, haha!
And thank you for the coffee donation!!
So helpful! Thank you Anne!
You’re welcome!